Saturday, 8 June 2013

Epping exhibition

Went up to the Epping Exhibition today for a bit of a look & to lighten the wallet a little !,now i dont like to critisise other peoples efforts but i felt that the standard of the layouts bar a few were a bit average.Now onto the wallet lightening :- 4 WHX,3 BDL & 3 BDX kits from AR KIT's,Trainorama MHG pack 9 & BWH pack 9,Laser Rail Bit's timber single line bridge,Model's N More elevated timber signal box kit,some Auscision 2CM bogies for the WTY wheat wagons,1 Silvermaz TRC kit & 2 Locsound decoders & speakers for 2 of my 4 Auscision 422 loco's.Well looking at that list i think i done a bit more than lighten my wallet i gave it a bit of a hiding.
Tonight i installed both decoders & speakers to 42216 & 42212,it took all of about 10 minutes to do both,just solder the 2 wires that are already soldered onto the decoder to the speaker & plug in,honestly it is that easy !.Now to get my NCE power cab fixed so that i can program them.
Then i constructed the road bridge. Now it must be said that anyone who does not like a kit that is easy to build this kit is not for you.The quality of this kit is just fantastic,all components are cut to length,fit perfectly & go together easily,it took all of about an hour to have a finished bridge.Rod from Laser Rail Bit's is to be congratulated on a great product. Checkout his Blog http://southernlineblogspot.com.au/ .
Anyhow Till next time Booly


Friday, 7 June 2013

Storage yard cover

Just a quick post with a few photos of the cover for the storage yards to keep the dust off loco's & rolling stock when the layout is not in use.the frame is made from 42X19 mm pine & covered with 3mm mdf board.The rear against the wall is 1 fixed section 1/2 the width and the front is 3 sections that are hinged to gain access to the yards,all joints are sealed with self adhesive foam strip.
Anyhow till next time Booly


Wednesday, 15 May 2013

Wiring & track work

Over the last few weeks i have been busy wiring up the top deck which houses Yass & Jerrawa.When i started construction of the layout i decided to go DCC.The system i am using is NCE power cab with a SB3a booster.DCC was all new to me as basic layout i had years ago used the conventional power packs & block wiring,so many hours have been spent on the net learning how to wire the current layout to suit DCC.All these new terms of main power bus,sub bus & cab bus ect....the most informative site i found is Alan Gardner's wiring for DCC web site.What did we do before the internet ?.I have broken the layout in to several different districts & separated the main lines from the yards  & for short protection i used the tail light globe system.Wiring was made easier with the layout being 1.45 high & the centre being hollow in the middle only cross beams of the frame to work around & one of those mechanic's seats with wheels to sit on.All wiring is soldered off the sub bus,with heat shrink which takes a bit longer but the connections are better than using scotch locks & then i used terminal blocks to connect the track dropper wires which are soldered to the underside of the track prior to laying(it looks much better than blobs of solder on the sides of the rails).I must have got i right,as tonight i test run a few loco's and it all ran perfectly & the tail light glob method works.
Also i have started on the 2nd station on the lower deck branch line.This station will be called Grabben Gullen.The branch line has 4 stations starting with Dalton,then Grabben Gullen,then Kialla & terminating at Crookwell.To come up with the 2 middle stations i just looked on a map & seen what towns lay inbetween Dalton & Crookwell.

Sub bus running left to right & tortoise wiring for live frog
Underside shot of the centre 
Anyhow a few photos & till next time, Booly.
Wiring coming from the main power bus at the top,through the  globe on the red wire,then  on the left  it connects to the sub bus,on the right is the track droppers.
Grabben Gullen station

the approach to Grabben Gullen

The template for drilling the mounting holes for tortoise point motors.In the top photo you can see the locating pin which i place through the hole in the point throw bar and then drill the 4 holes

Monday, 15 April 2013

Yass Junction grain depot

Since the last post i have been busy starting the construction of the grain shed,to fit it in the area on the layout i have had to make it slightly smaller by 3 panels in length & 2 panels width.Just a few photos on the construction so far.
Any how till next time Booly

Sunday, 31 March 2013

Yass Junction yard light

Over the long week end i went down the farm to visit my grand father & uncle and on saturday i went out to Yass Junction station to get some more photos and was supprised to see that at the northern end of the yard that there is still a yard light still standing.Now this is something i had missed on all my previous visits,this light use to provide light to the water column on the up loop and the water tank use to be located just behind the light and was a single panel tank on a double teir steel stand & was a covered tank which served several purposes,1 to help stop the water from freezing during winter & keep out the birds.


Some photos can be seen on the Westonlangford web page as well as some other fantastic pictures on Yass Junction.I also done some measurements on the Grain storage depot,this is going to be quite a large building at 521mm long  301mm wide plus the outloading bin & shute,i am going to have to slightly change the track layout to fit it in.In the 2 hours i spent there i seen the down Griffith 2 car Explorer set,down XPT,up empty seel with triple NR's & up PN grain with double 81"s.

Wednesday, 13 March 2013

Manual point control

In a previous post i described the manual point control switches i made for Crookwell.For the point control on the rest of the layout i have changed the setup slightly.The switches are now mounted under the points instead of at the edge on the facia & the method of control is now by a small brass knob connected to a length of brass rod to the switch.The mounting brackets are 20mm alloy angle with a slot machined on 1 side to fit the switch.The switches i have used are perfect in the throw for the peco points(jaycar part No.ss0821 slide mini DPST)and for wiring up the frog power.Anyhow till next time Booly


Wednesday, 27 February 2013

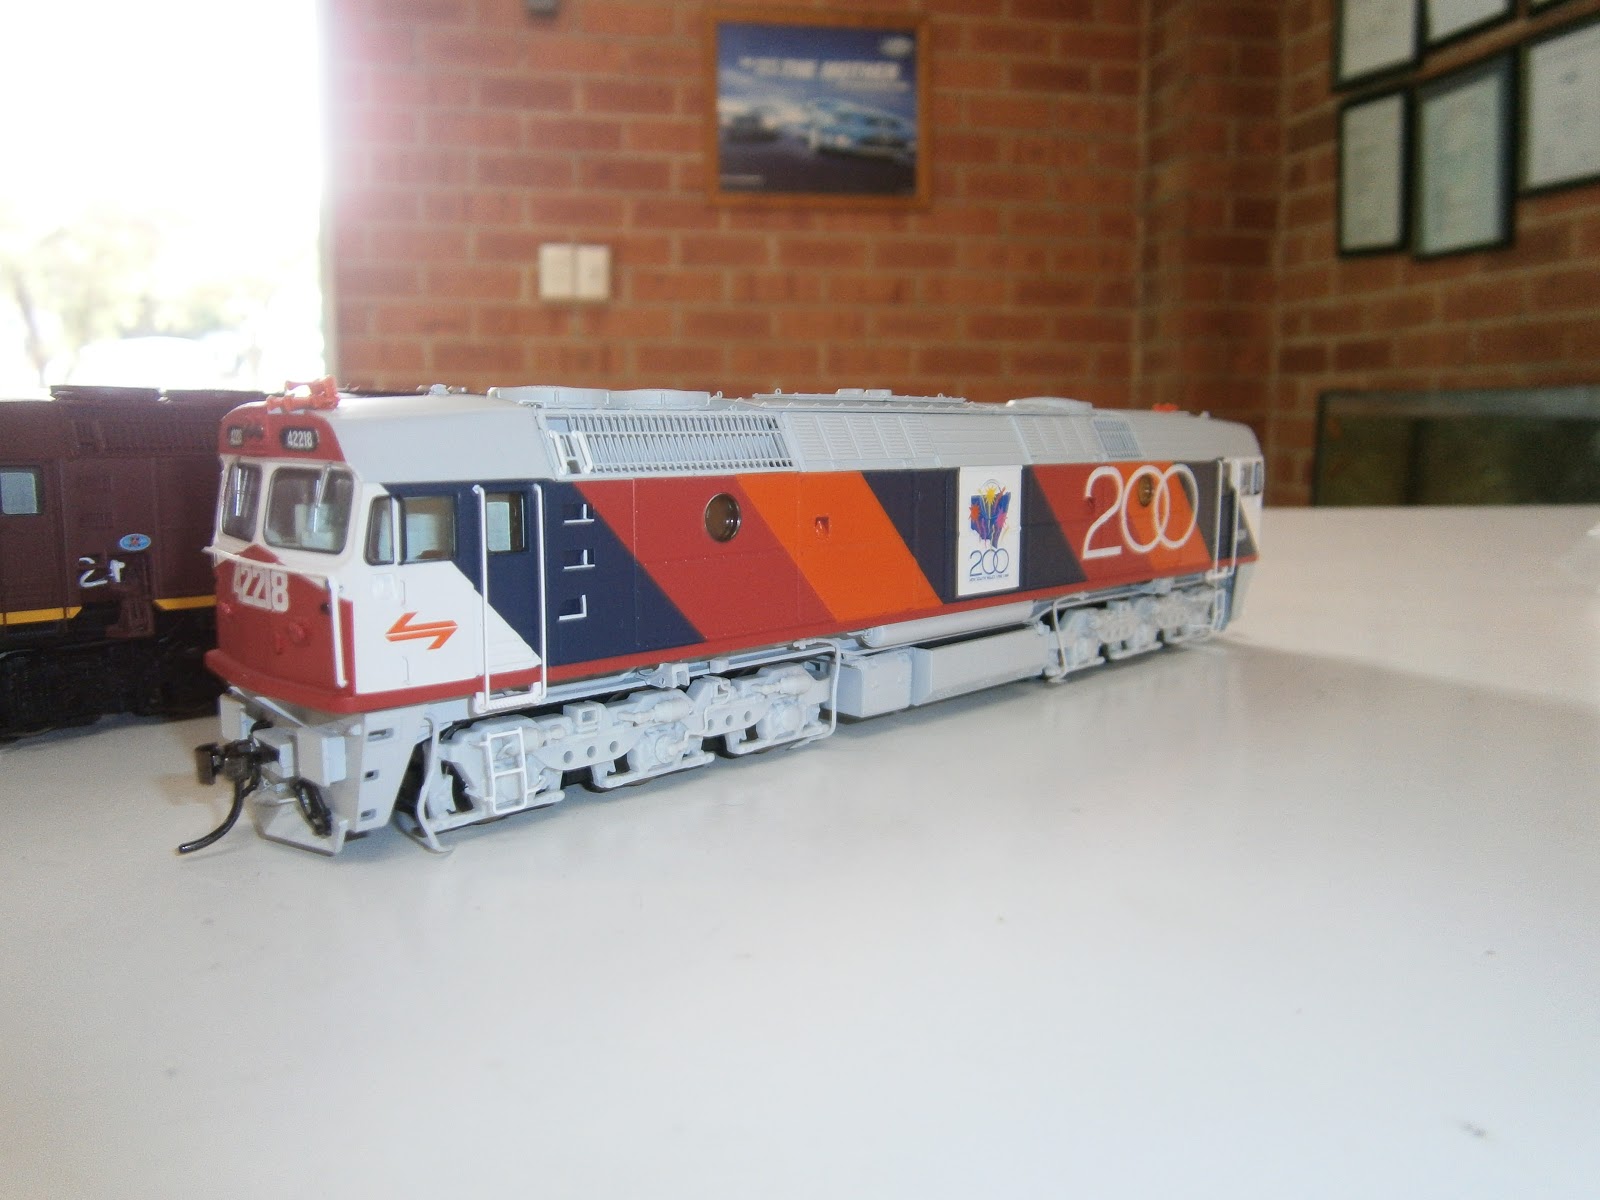
Look at what just arrived

Well the wait is over the Auscision 422's are here mine just got delivered my Aust Post.Very nice indeed